
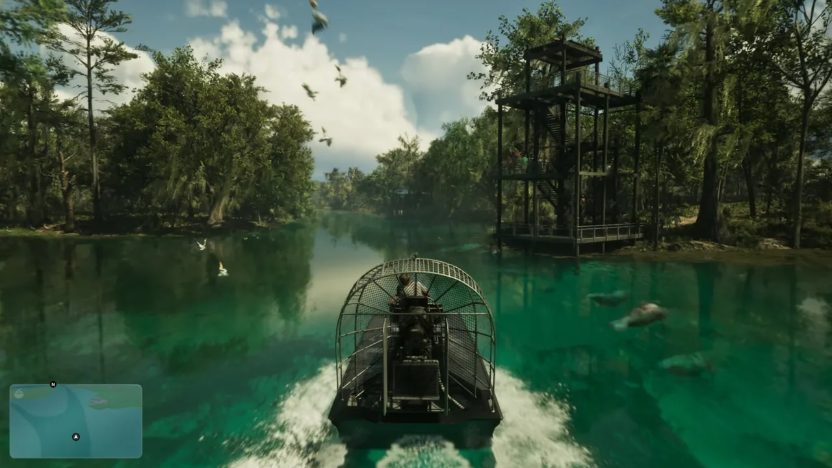
Looking for Bigfoot in GTA 6? Rockstar has hidden an encounter with Leonida’s own Sasquatch, the Skunk Ape, in the swamps of Grassrivers. Finding it isn’t particularly difficult once you know where to look, but you’ll need to follow a few clues to trigger the whole event.
The encounter starts with a strange growl coming from the vegetation. Following the sound leads you to Bigfoot, who runs away and leaves you searching for a mysterious wooden effigy. Approaching it triggers a secret cutscene with Jason.
You don’t need to finish the main story to find this Easter egg, either: it’s available early in Chapter 1, as soon as you can explore the Leonida Keys freely. It also leads to Kirk’s Skunk Ape side missions.
Here’s how to find Bigfoot, reach the right locations, and complete the secret encounter.
Where to Find Bigfoot in GTA 6
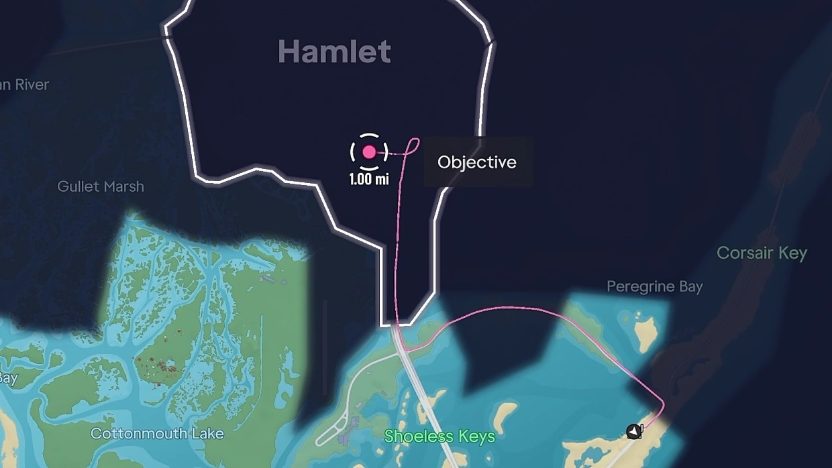
Bigfoot lives in the swampy, heavily wooded Grassrivers area in the south of Leonida, so you don’t need to visit every spot below.
The easiest place to check is Cottonmouth Lake, just south of Hamlet. Drive the road by the lake and keep an eye out for an animal carcass, usually a dead deer, as Bigfoot is often spotted feeding on it by the roadside.
You can also search across Gambit Bay from Jason’s house, around the Shoeless Keys, a group of islands you can only reach by crossing the water. This area has also been linked to Bigfoot sightings and the wooden effigy.
For the quickest route, start at Cottonmouth Lake. It’s easy to reach and a good starting point for exploring the surrounding swamps.
How to Reach the Shoeless Keys
To investigate the Shoeless Keys, start at Jason’s house, the Leonida Keys Safehouse, and take his boat from the dock on Gambit Bay to cross the water and reach the islands.
Once you arrive, leave the boat and explore the vegetation on foot. Listen carefully for the growling sound, as it will lead you to Bigfoot.
You can reach this area early in the story. The Fleeca bank you visit in the Buck Me mission, when Jason helps Lucia open a bank account for her community service pay, is nearby.
How to Trigger the Bigfoot Encounter
Before you start, make sure your audio is turned on. Bigfoot’s growling is the main clue you’ll follow, so you need to be able to hear it.
We also recommend making a manual save before approaching the swamp. If you lose sight of the creature during the chase, you can reload and try again.
Go to one of the locations above and explore the area. When you hear a deep growl, press L3 and R3 together to use Focus, which picks up the direction of unusual noises.
Follow that direction and leave the road to continue on foot. Bigfoot may appear by an animal carcass or somewhere along the path. Once you get close enough, it runs off into the vegetation.
Don’t try to follow it in your vehicle, as you’ll likely lose track of it. Instead, keep going on foot towards the spot where it disappeared.
You should find a strange wooden effigy, a human-shaped figure with antlers, tied to a tree. Walk up to it and the flowers around it to trigger the secret sequence.
How to Complete the Bigfoot Encounter
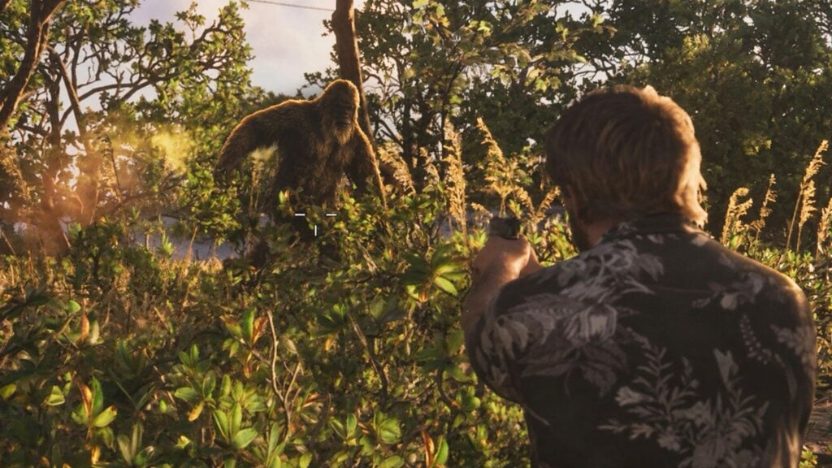
You don’t need to fight Bigfoot or use any particular weapon. It runs away whether or not you attack it, so there’s no reason to waste ammo.
For a closer look before it disappears, use Photo Studio, GTA 6’s photo mode: press Options (PS5) or Menu (Xbox) to pause the game and select Photo Studio while Bigfoot is still visible.
Once you reach the wooden effigy, move closer to it and the flowers at its base. Jason suddenly loses consciousness, triggering a short cutscene with strange visual effects.
During the sequence, Bigfoot walks up to Jason, but the game doesn’t show its face: the camera focuses on its enormous, hairy feet as Jason passes out.
When Jason wakes up, he’s somewhere near where he blacked out. Some players have woken up in their vehicle instead. You can go back to the effigy, but nothing else has been reported after the first encounter.
Kirk’s Skunk Ape Flyer and Missions
After the encounter, look out for Kirk’s “Have You Seen Skunk Ape???” flyers. The easiest one to find is at Skeeter’s bar in Hamlet, and there’s also one on the wall inside the Fleeca bank. The flyer describes the creature as Leonida’s answer to Bigfoot, in deliberately bizarre terms.
It also lists Kirk’s number, 461-555-0139. You can’t dial numbers in GTA 6, but reading the flyer adds Kirk to your contacts. Call him to start his Strangers & Freaks questline:
- Search for the Skunk Ape: meet Kirk at night in the swamps near Pelican River and follow his drone. He pays $1,000.
- Search for Tree Effigies: after Kirk texts you, find and inspect three carved effigies in Pelican Valley.
- Help Kirk Find Mr. Mangrove: a night-only, Lucia-only hunt near Cottonmouth Lake (from Chapter 2), where you finally come face to face with “Mr. Mangrove”.
All three are required for 100% completion and count toward the Strangers & Freaks trophy.
Bigfoot Not Appearing? Here’s How to Fix It
If you’ve reached the swamp but can’t find Bigfoot, try another location. The roads around Cottonmouth Lake and the swamps south of Hamlet are the best places to check.
Make sure your audio is on, and use Focus (L3 + R3) if you can hear the growling but can’t tell where it’s coming from.
If Bigfoot gets away before you can follow it, reload your save and try again. Remember to continue on foot rather than in your vehicle, as the creature quickly disappears into the vegetation.
Can’t find the wooden effigy? Carefully search the area where Bigfoot vanished. The effigy can be hard to tell apart from the trees around it.
If the cutscene doesn’t trigger, move closer to the effigy and the flowers at its base. You can also turn up the game’s brightness if the swamp is too dark at night.
It’s still unclear whether you can repeat the encounter on the same save. For now, the workaround is to load a save made before approaching the effigy.
That’s everything you need to know to find Bigfoot in GTA 6 and trigger the secret encounter. For more secrets and side content, check out all GTA 6 Strangers & Freaks missions, explore Leonida with our GTA 6 interactive map, and browse more GTA 6 guides.

or post as a guest
Be the first to comment.